| TOYBIZ THOR/CONAN |
| THE MODIFICATION OF THE FIGURE |
| UPDATED 06/07/05 |
 Thanks to Kitman for the box pic |
| This is just a quick look at what I've
done so far Eventually, there will be more pics, as well as a more in-depth explanation of what I did at each step of construction. Click on the pictures to see a larger image. Sorry I can't get more detailed photos with my cheap camera |
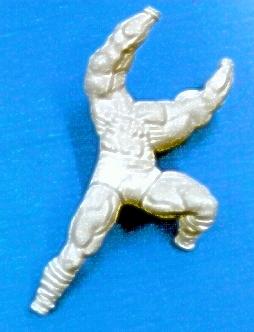
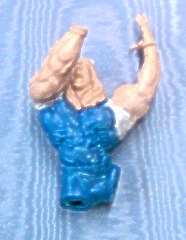
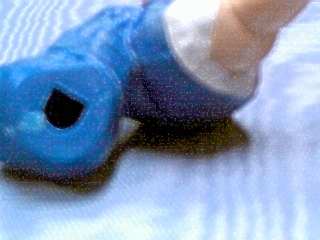
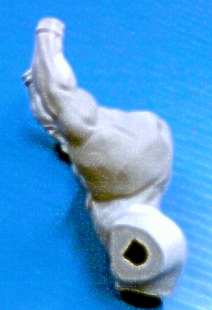
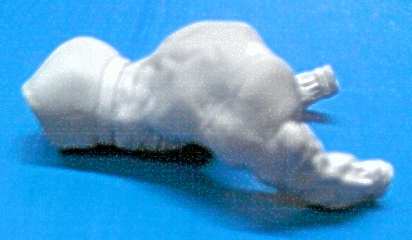
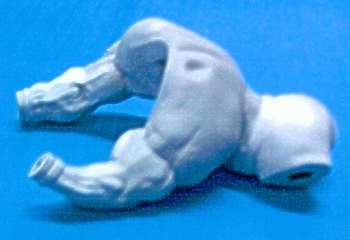
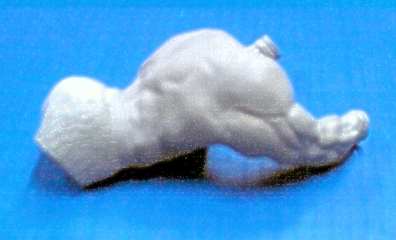
| First, a little background. I stumbled across this kit at Toys R Us. It was marked down to $1 I think. I figured why not. I thought the base was pretty neat looking and had possibilities. The same reason I picked up the Undertaker kit that same day. Neat base, cheap kit, I'll do something with it. Well, I was sitting around one night, kinda board, just watching TV. I hadn't worked on any kits most of the summer. Too hot and too busy. Well, I didn't feel like working on anything that was already on the workbench. (why finish something that I already started when I could start something new :-) So I brought down a stack of kits from the closet and started going through them while I sat on the couch watching something on TV. I got to this Thor kit and as I was looking over the parts, it hit me. This would make a nice Conan. At first I figured, all I have to do is sand off those round things on his costume and change the hammer into an axe. Paint the hair black, and make the outfit look right. No problem. Shouldn't be that hard to do. Then of course, as I sat there looking at things a little longer, I got a few more ideas. Move the arms a bit, change the hammer into a sword instead of an axe. Make it look like he is getting ready to drive the blade into the dying beast at his feet. Much better pose. A lot more work. Look at the box art above, and the pictures below, and you can get an idea of the original pose |
  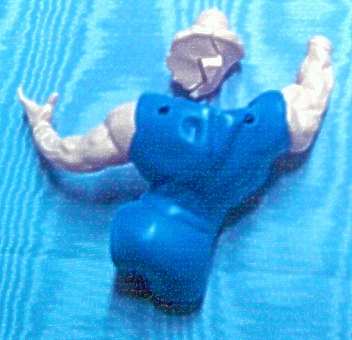 |
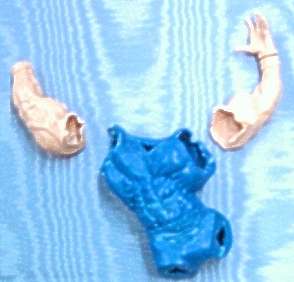   |
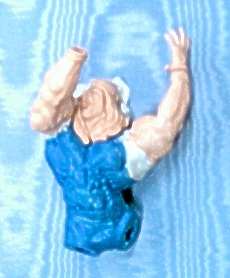
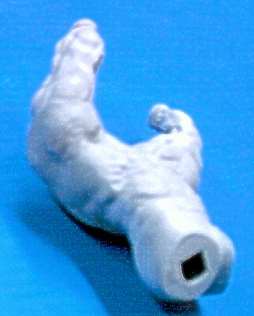
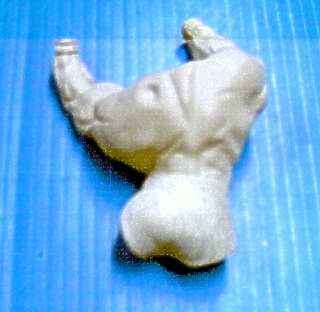
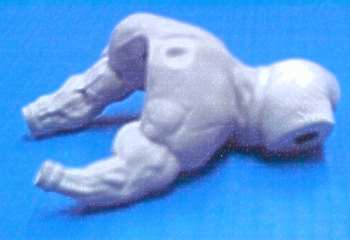
| Well, as you can see in the pictures
above, I had to do a lot of chopping to be able to
reposition the arms the way I wanted. The right arm
needed to be brought in closer to the middle of the body.
That wasn't too bad. The left arm on the other hand
needed to be completely rotated up, then brought over the
top a little. I spent a lot of time test posing things
before I started cutting away at the plastic.Then more
time test fitting as I whittled away at the parts. I did
all the chopping with a hobby knife. Just kept shaving
away until I got things the way I wanted them.
Thought about using the dremel, but that would have been
too fast and not nearly as accurate as I needed. That's
also the best way I found to remove those discs on his
costume as well. Grinding with the dremel, even on the
lowest speed, would have had too much chance of damaging
some of the nice detail, and I already had enough repairs
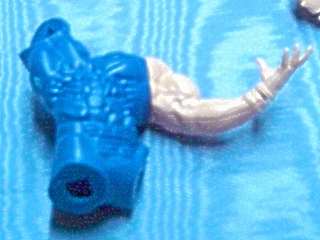
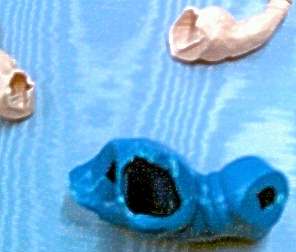
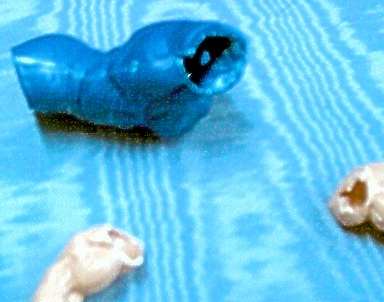
to make without causing more. I removed the discs on the costume that were on the chest, abdomen, and shorts. I also removed the emblem from the belt. I did all this with a knife as well. Again, I did not want to risk any of the nice detail already on the kit. I just took my time and watched out for my fingers. As you can see I really removed a lot of plastic, and left some huge gapping holes. I figured I had better add some support to make sure the arms wouldn't fall off some time down the road. At first I tried gluing a piece of coat hanger inside with some 2 part epoxy. That didn't really hold very well, also, the wire was too stiff to position correctly. I ended up using some 14 gauge copper wire that I took from some romex. I held it in place by filling in the upper body with 2 part epoxy putty, and embedding the wire in that. SIDE NOTE : I didn't even
know about 2 part epoxy putty until I asked a few
questions about doing this conversion (my first) over on
the Marvel Model Club BB, which is now gone as it has
merged with the Clubhouse. I started looking around
locally. Since I don't have any hobby shops around me, I
was checking hardware type stores. |
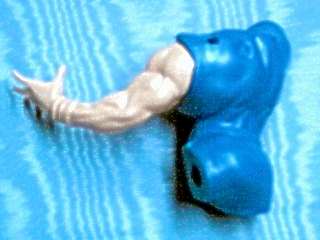
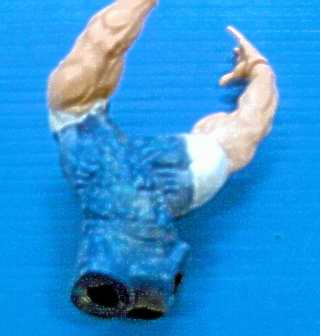
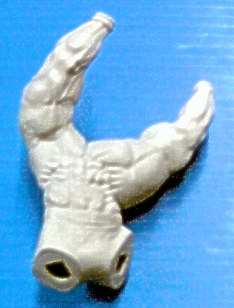
  After the arms
are attached After the arms
are attached 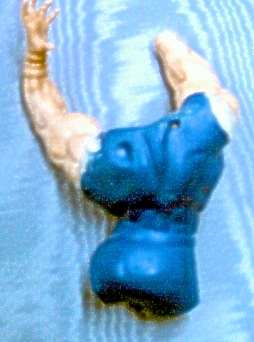 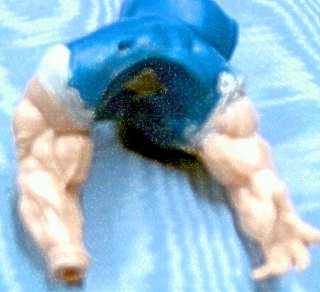 |
| I still have a lot of work to do on the new joints. Especially smoothing down the left shoulder. Good thing I filled in the body when I added the wire for support |
 |
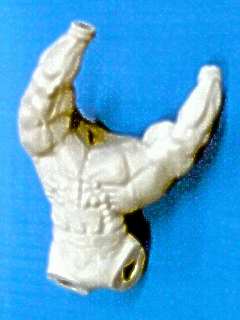
 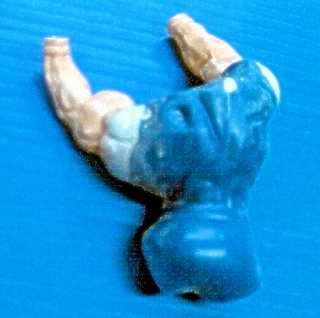 a couple of shots of the left arm pretty much filled out. |
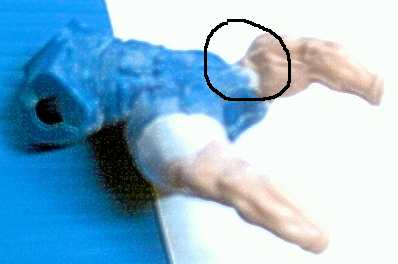 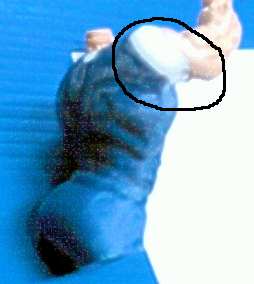 |
| next step. I'm going to fill in the gap shown in the circled area. Hopefully it will look like a really big bicept connected to a very large lat. A little on the really huge side I know, but Conan is larger than life. Obviously, I am not going for an REH or Barry Smith version, more like a Frazetta or Valejio |
      |
| Above are some shots after my first coat of primer. There is still a lot of sanding to do. Plus I still need to add some more detail. Especially to the back areas of both shoulders. |
    |
| As you can hopefully see in the pictures above, I
have started texturing the area that used to be shorts.
I'm trying to make it look more like fur for a loin
cloth. I still have to go over it a few more times. The
lines are really soft in a few areas. I'm using my Dremel
engraver to etch lines, then going over it softly with
some sandpaper to take the rough edges off. I have also added some more detail to the arms anc chest. I still can't figure out what I want to do with the back shoulder area. It looks a little smooth for my tastes. I just can't decide what I want to do to correct it. |
|
| The seams at the leg joints aren't too bad. A little
putty for blending and they looked fine. Same for the hands and feet. Though I did have to modify the one hand a bit. (which is coverd more in the sword page) Almost forgot to mention that I also scrapped the buckles and such off the boots to make it look better. Nice smooth leather boots. |
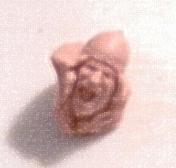
| Next, on to the head.
Pretty basic really. After assembly, and eliminating the seam on the helmet, I then fashioned horns with MagicSculp and put them where the wings were supposed to be. |