| Here is the First method |
|
 |
 |
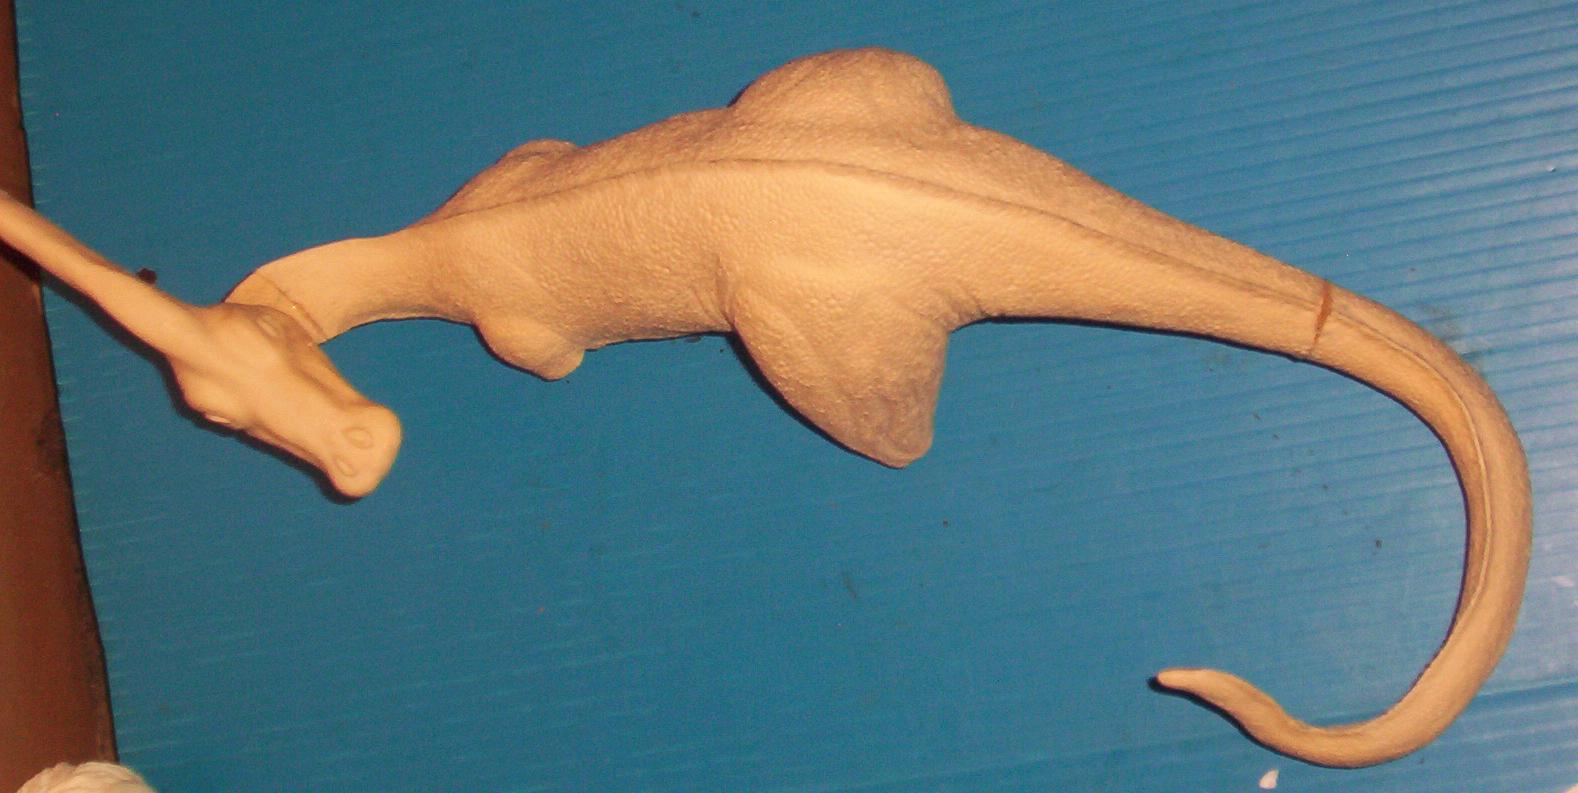
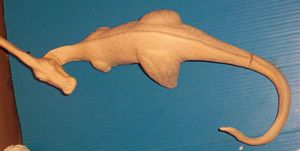
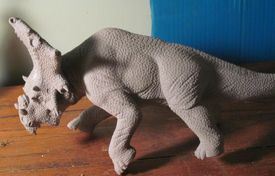
Ok, here is the big
bad boy.
The new kit produced from design sketches
by Dave Cockrum.
I'm showing you this, so you can get an
idea of the size of the model, and how
much weight there is too it.
That way you can understand why it needs
to be pinned.
Resting that much weight on just a glue
joint is asking for trouble.
|
 |
 |
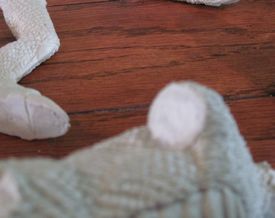
The first 3 pics
show how I lined up the holes for the
pins. I held the parts together and
marked them with a pencil (easier said
than done, unless you have like 3 hands).
After making the marks on the outside, I
then drew lines between the marks to get
my locations.
This helps to make sure that the holes
for the pins will line up on both pieces
you want to pin together.
|
 |
 |
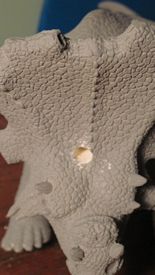
Then I drilled the
holes for the pins.
If you notice, the tail to body
connection got 2 pins. I wanted to makes
sure it was a very strong joint as a lot
of the weight of the model would be
working against that joint. Also, I
wanted to make sure that I could keep the
tail from twisting. If you look at the
picture of the completed kit you will see
that there is a chance that the weight
might cause the part to twist. Even
though it wouldn't break because of the
pin, without 2 pins there would be a
chance of movement over time.
While the head to neck joint only had to
hold the head in place. The head is
pretty heavy, so I felt better putting a
pin in it for strenght. But the way the
joint was cut, I don't think there would
be a twisting problem.
Also there isn't a lot of room to work
with there. With too many pins in too
small a space there is a chance of
actually weakening the part, instead of
strengthening the joint.
I also used
oversized holes to give me enough wiggle
room to actually get things lined up. No
matter how well you measure, chances are
it still won't be exact. So you are
better off making your holes too big so
you can get everything lined up just
right.
I filled the holes in one piece with 2
part epoxy putty (which I think creates a
much stronger bond than super glue) then
inserted the pins. I then let that set
up.
Then I filled the holes in the other
side, spread a little glue on both halves
and held them together until they set up.
This is where a lot of people prefer
super glue. Because it sets up much
faster. I prefer the expoxy though,
because I have time to adjust where the
pieces are and get the perfect alignment
I am after.
On this kit I
used pieces of 12 guage copper wire.
Mainly because I had some handy. But you
can use almost anything that is rigid and
fairly strong. Threaded rod is really
good, as it gives the glue something to
really grab on to. A lot of people also
use coat hangers. It doesn't really
matter as long as it works for you.
|
 |
 |
Here
it is with the 3 peices glued together.
|
|
| Here is the Second method. |
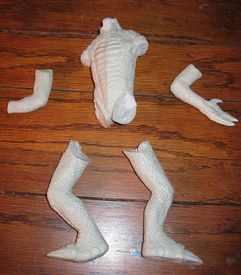
This kit is going to need 5 pins.
Both arms, legs, and head.
I start by drilling holes in the legs,
arms, and neck.
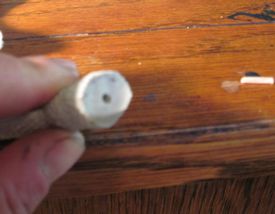
Then I cut off toothpicks so that they
just barely stick up out of the holes
that I drilled. |
 |

Then I dip one end of the toothpick in
black paint
and set in the part.
Then I press that part in place on the
body.
Thus transferring a paint mark directly
opposite the hole I already drilled. |
 |
 |
After I have
the marks transferred, then I insert my
pins and glue them in place.
This time I used coat hanger wire.
After that sets up, and I get back to the
kit, I will drill the holes in the body.
I wait until the pins are set in the
other parts, so I know what angles to
drill my other holes in.
While I know just 'where' to start the
hole, that doesn't tell me what angle to
drill on. |
| |
|
|
| Third
method |
|
First step, is to glue the parts
together.
In this case, I have glued the head onto
the body. |
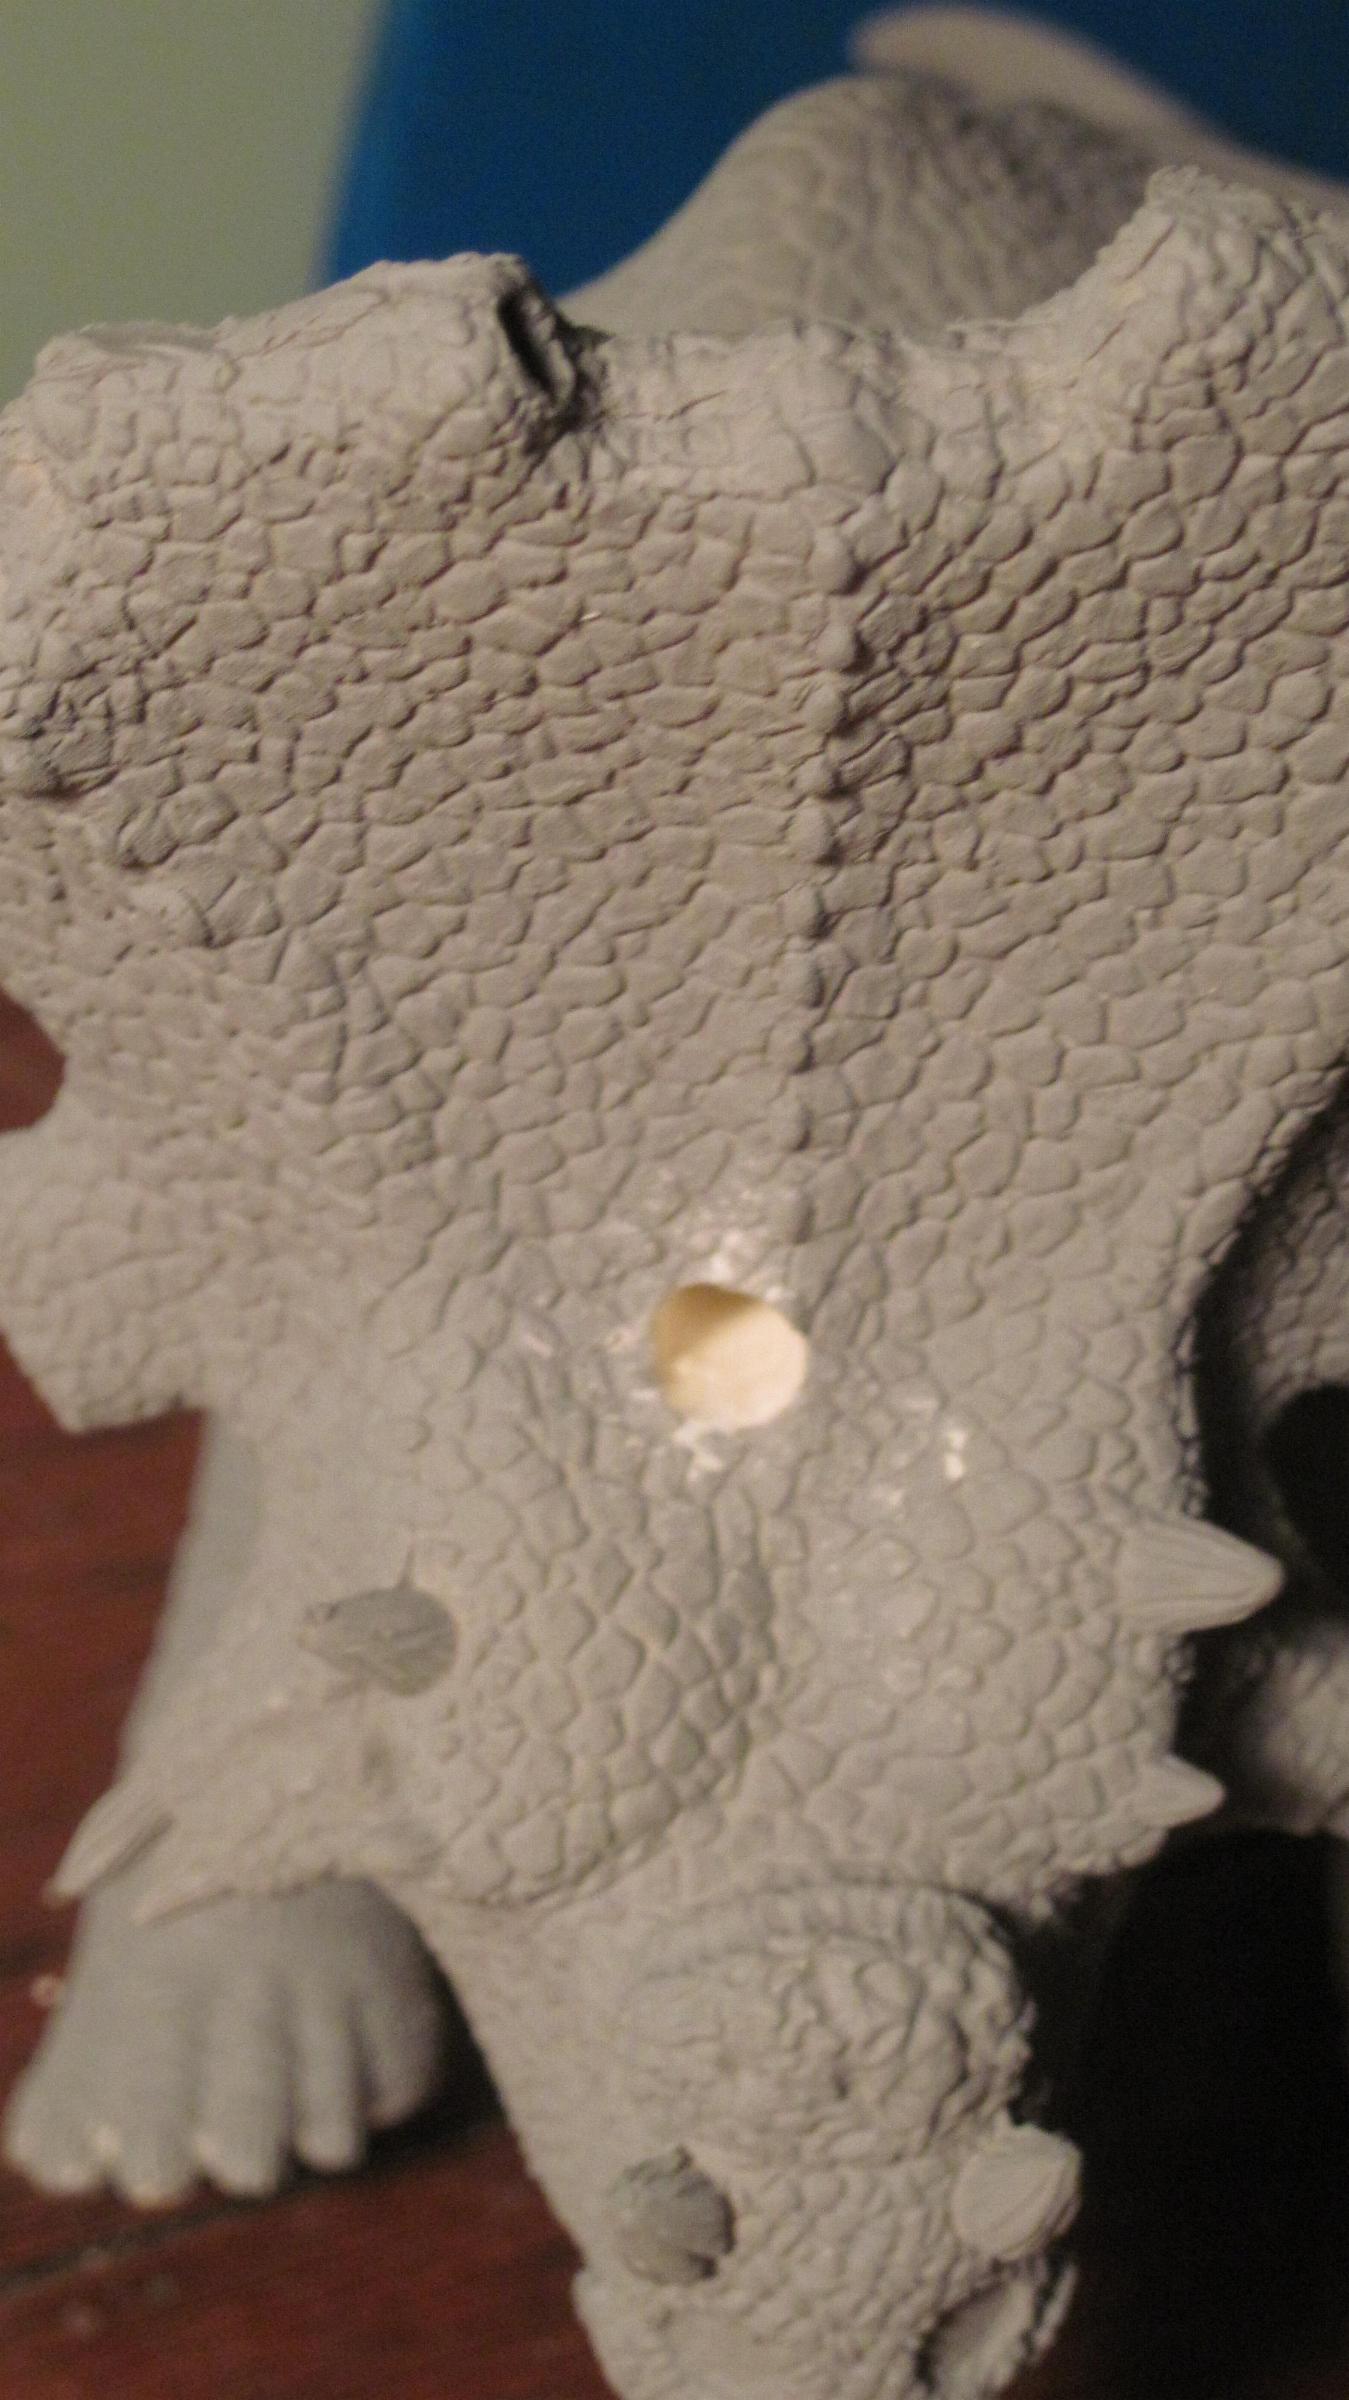
Next, I drilled a hole through the head,
and into the body. |
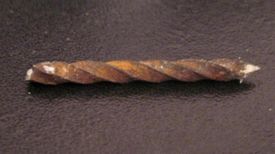
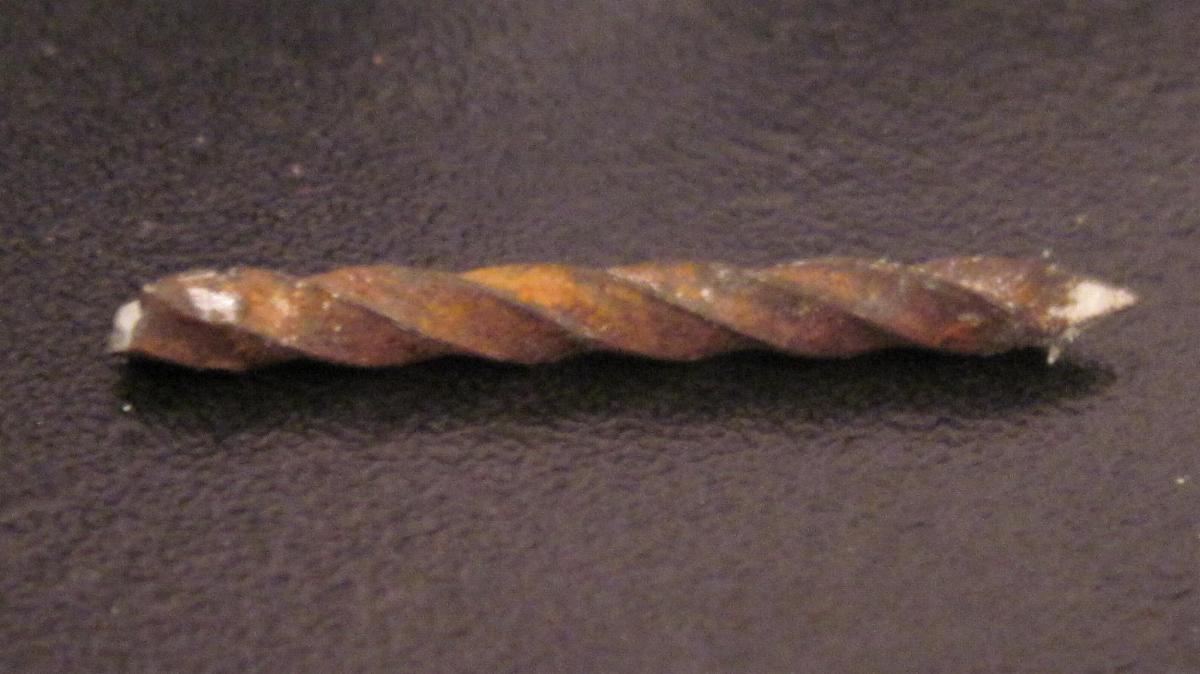
Normally for this I would use some
threaded rod.
Because the head is big, and kind of
heavy, I want to use
something that grabs a bit better than a
smooth pin.
I didn't have any on hand for this kit,
so I cut a twist
nail to lenght. |
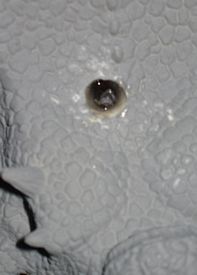
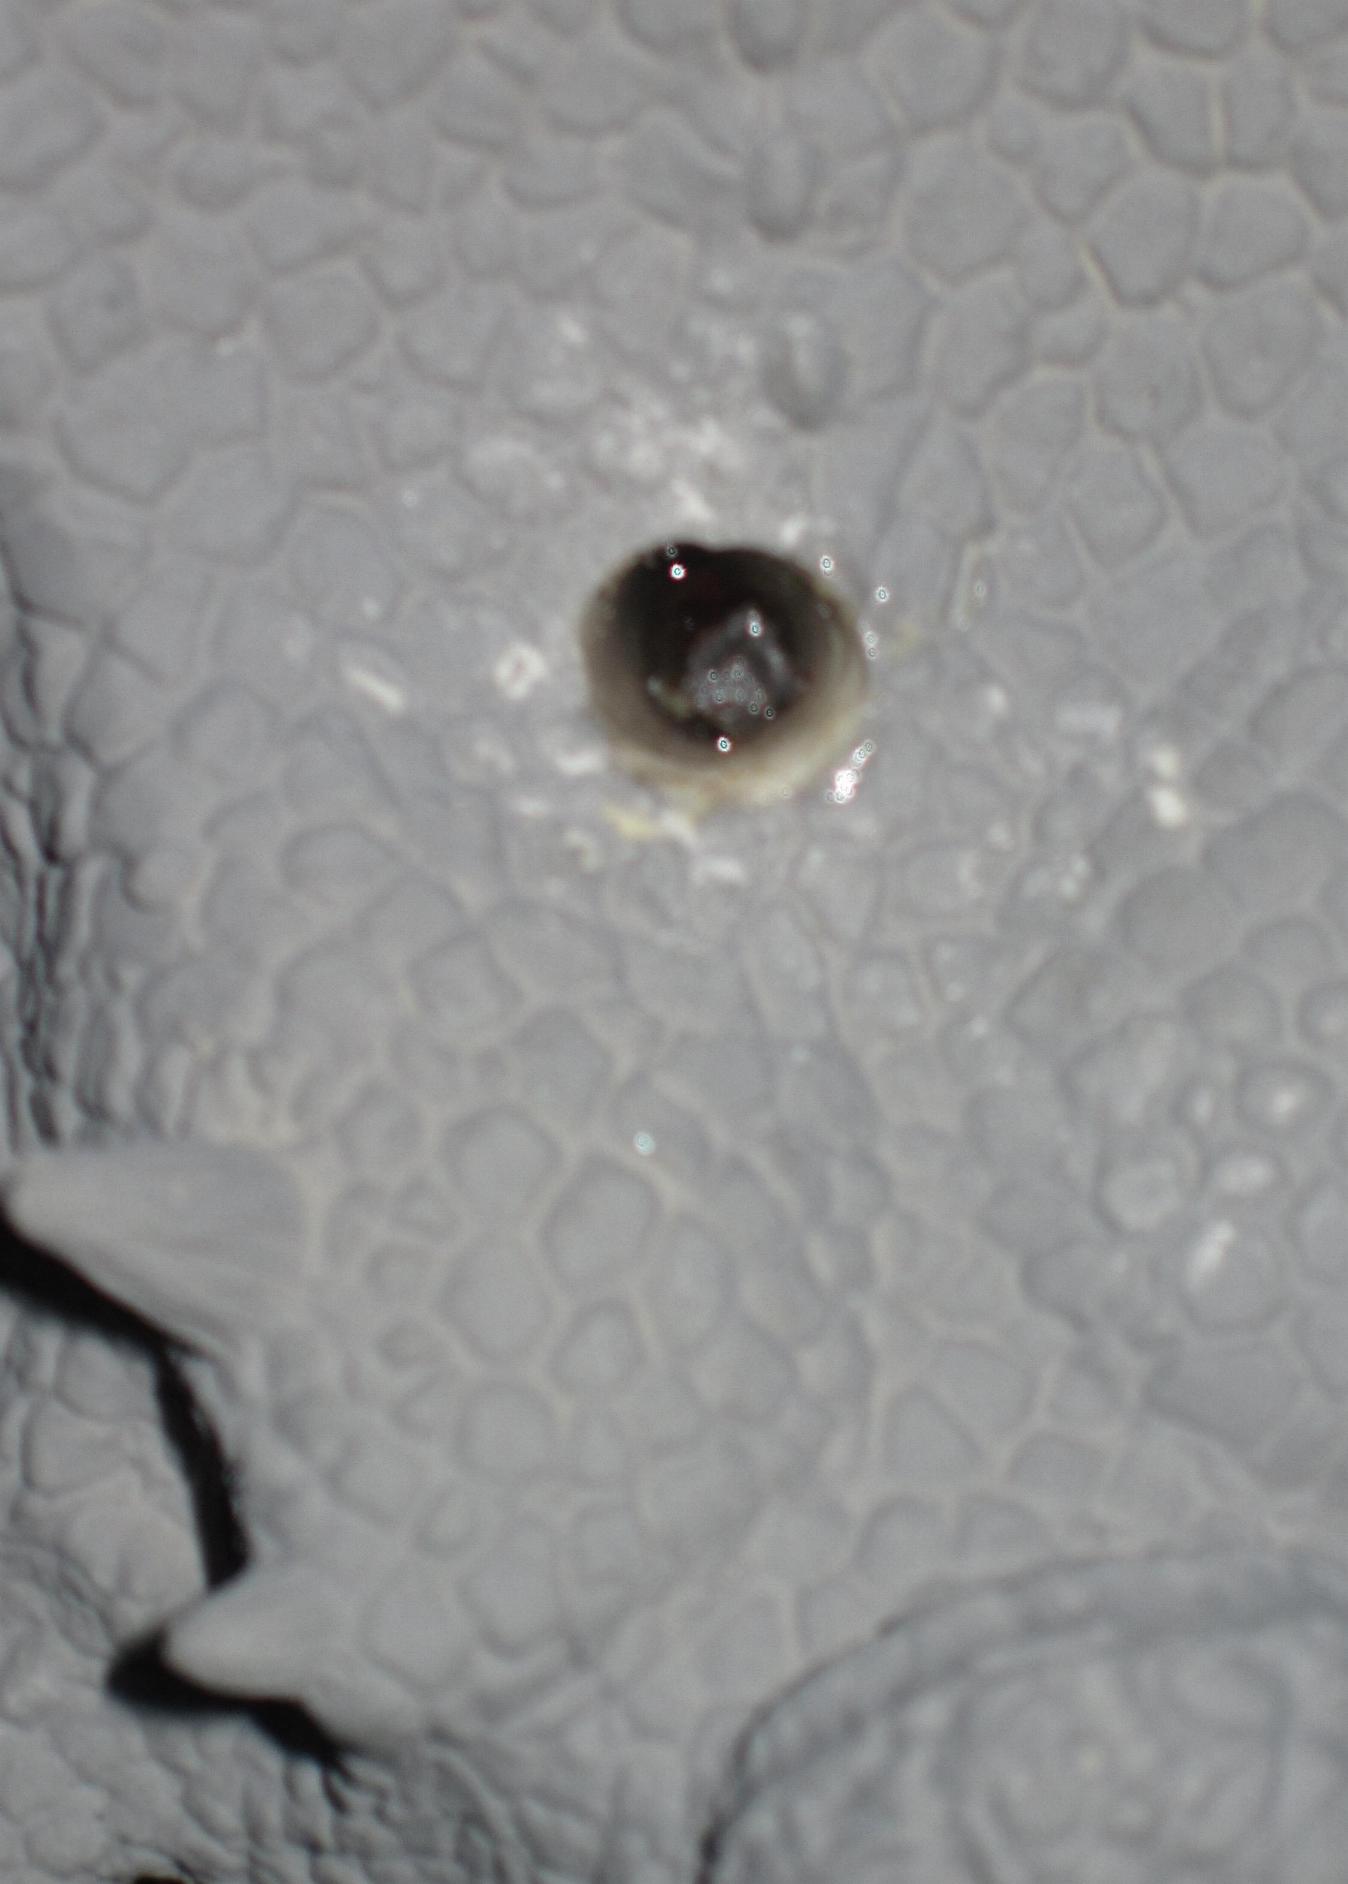
Next, put some glue, in the hole, and
insert he pin. |
| |
|
This method is
the best one for making sure you get the
parts lined up perfectly. You can
reposition as
needed, to get it in perfect alignment.
The drawback is, that you have a bit more
finishing work to do to
cover the holes up and make them blend
with the rest. But that is easier to deal
with, than trying to fix a
seam where the 2 parts don't line up
properly because a pin in the wron place. |
|
|